3D Printed Best Cool Things… Which One Wins?
From a calendar with the most cursed months order (Jan, March, Feb ?), to a lamp bookmark with questionable glue sounds… things escalated quickly
Also featuring:
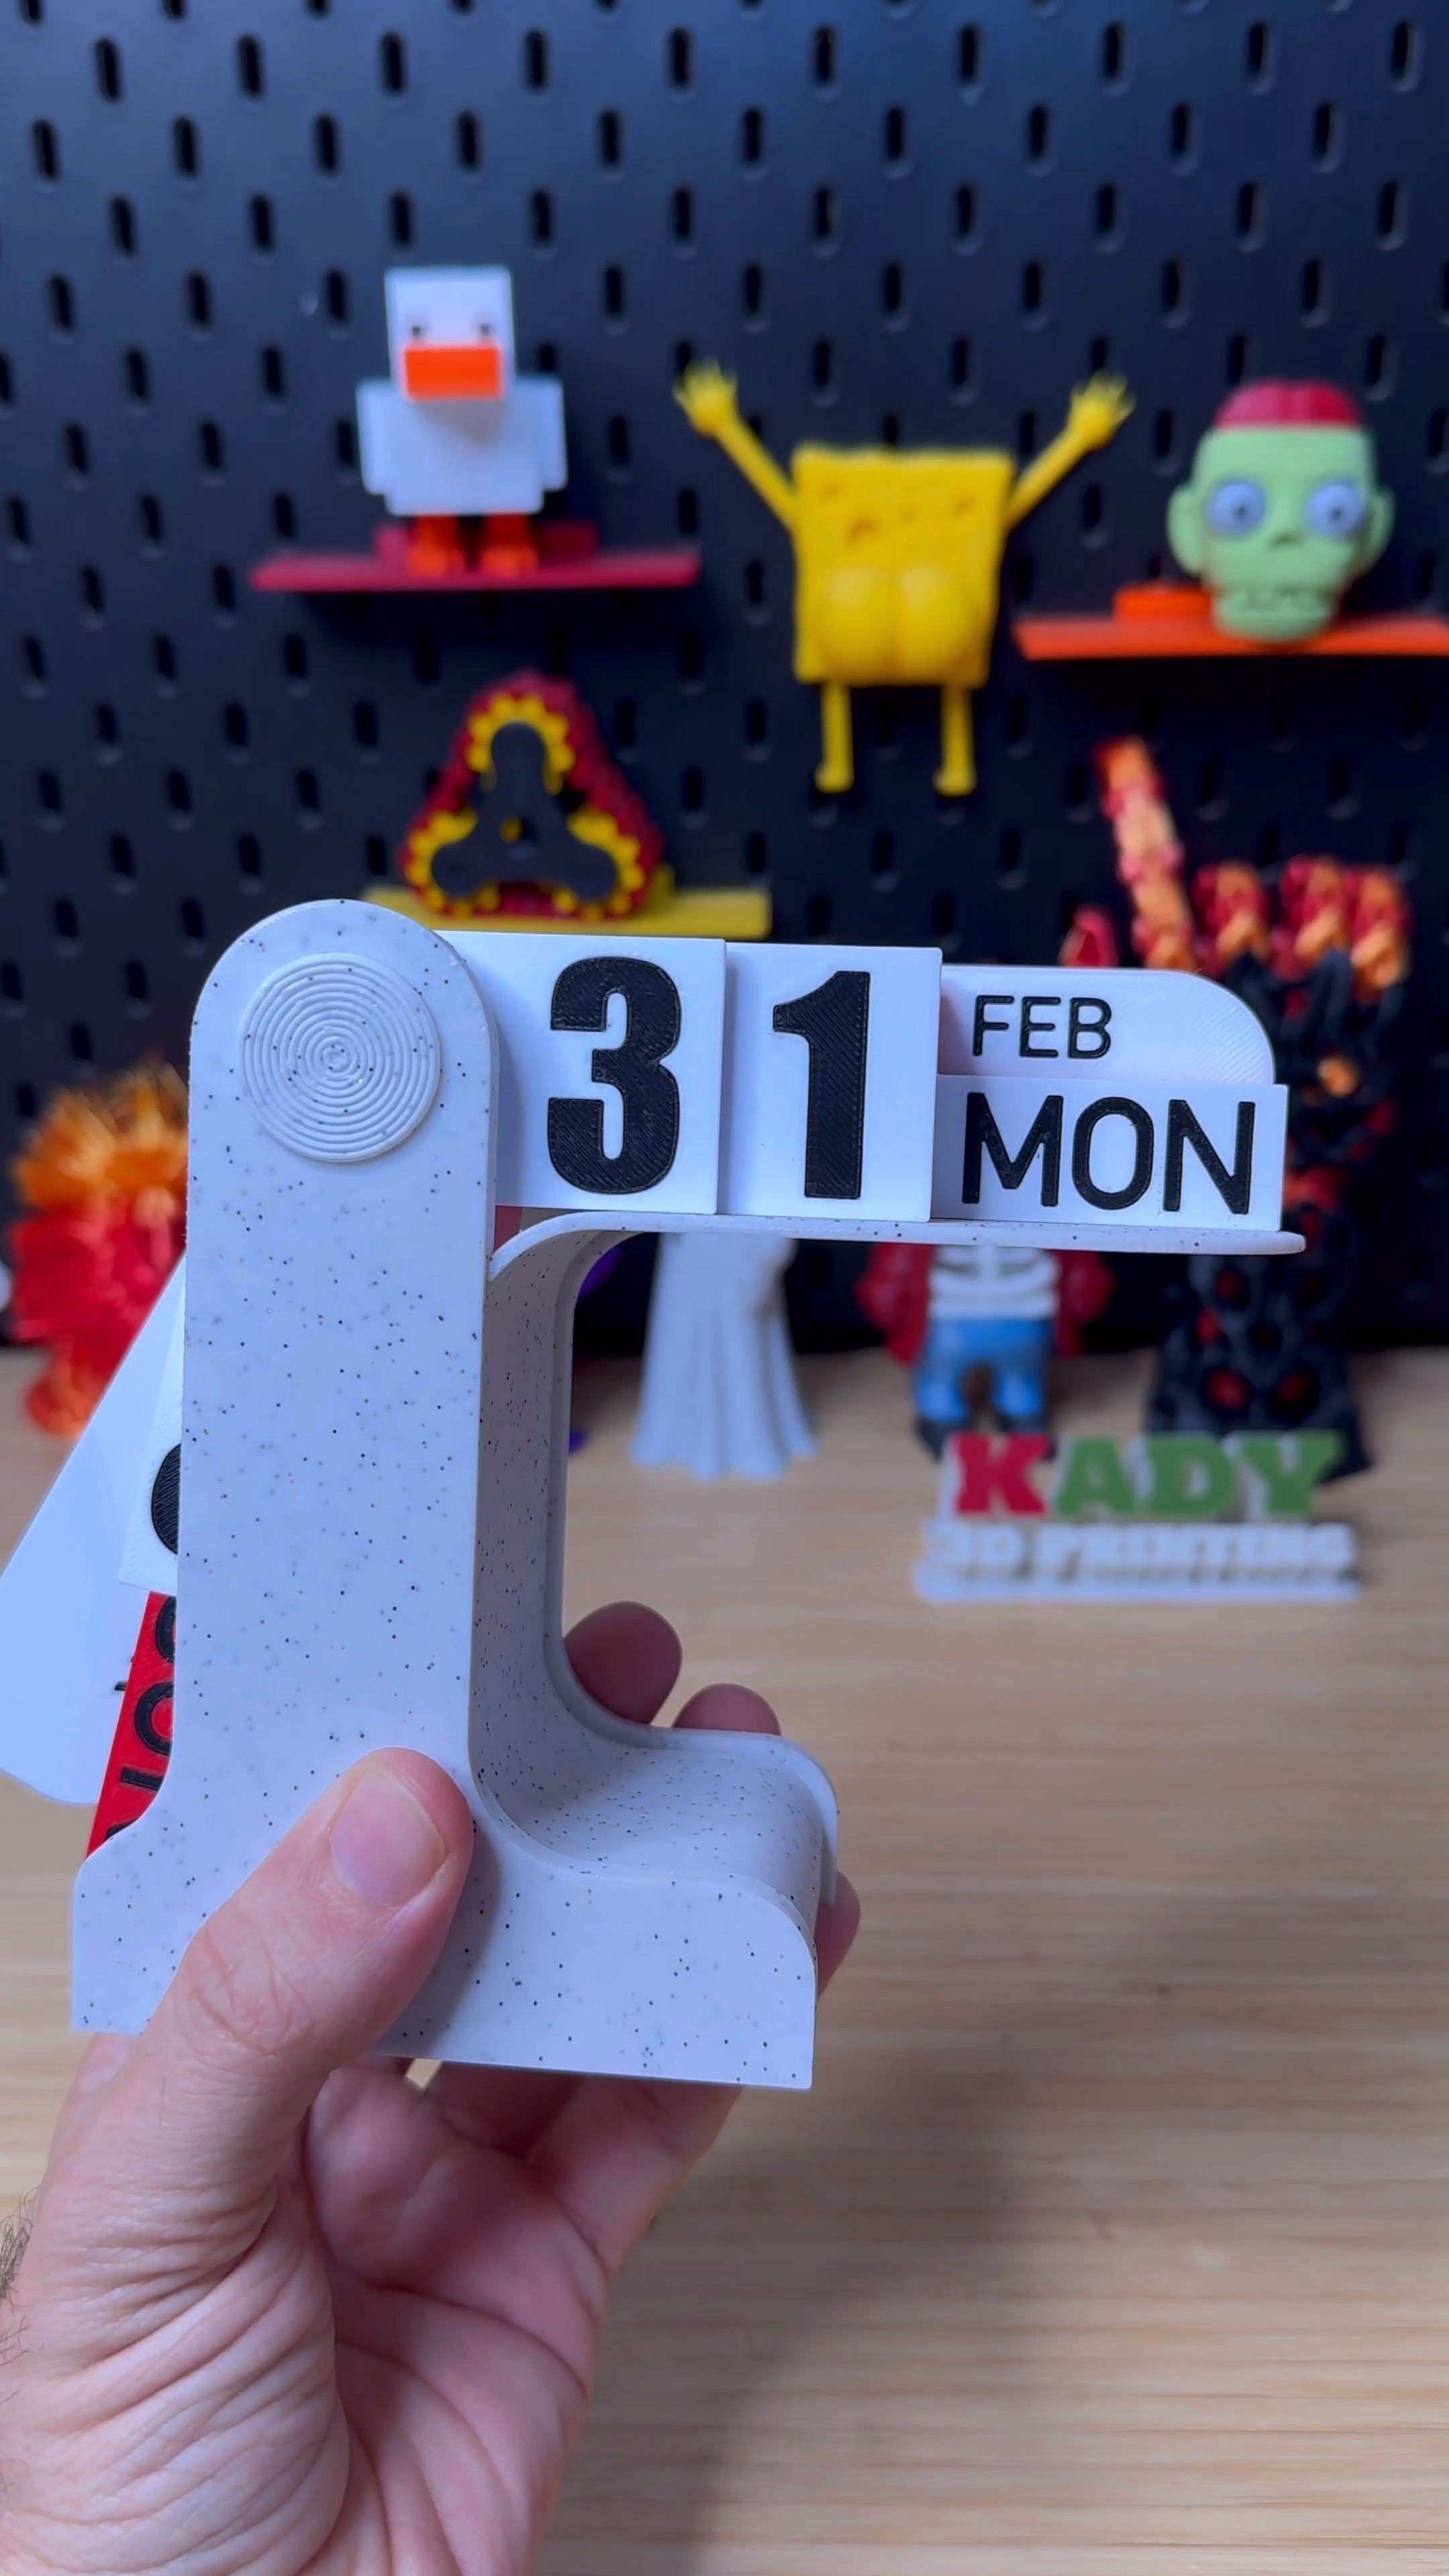
? A foldable iPhone concept
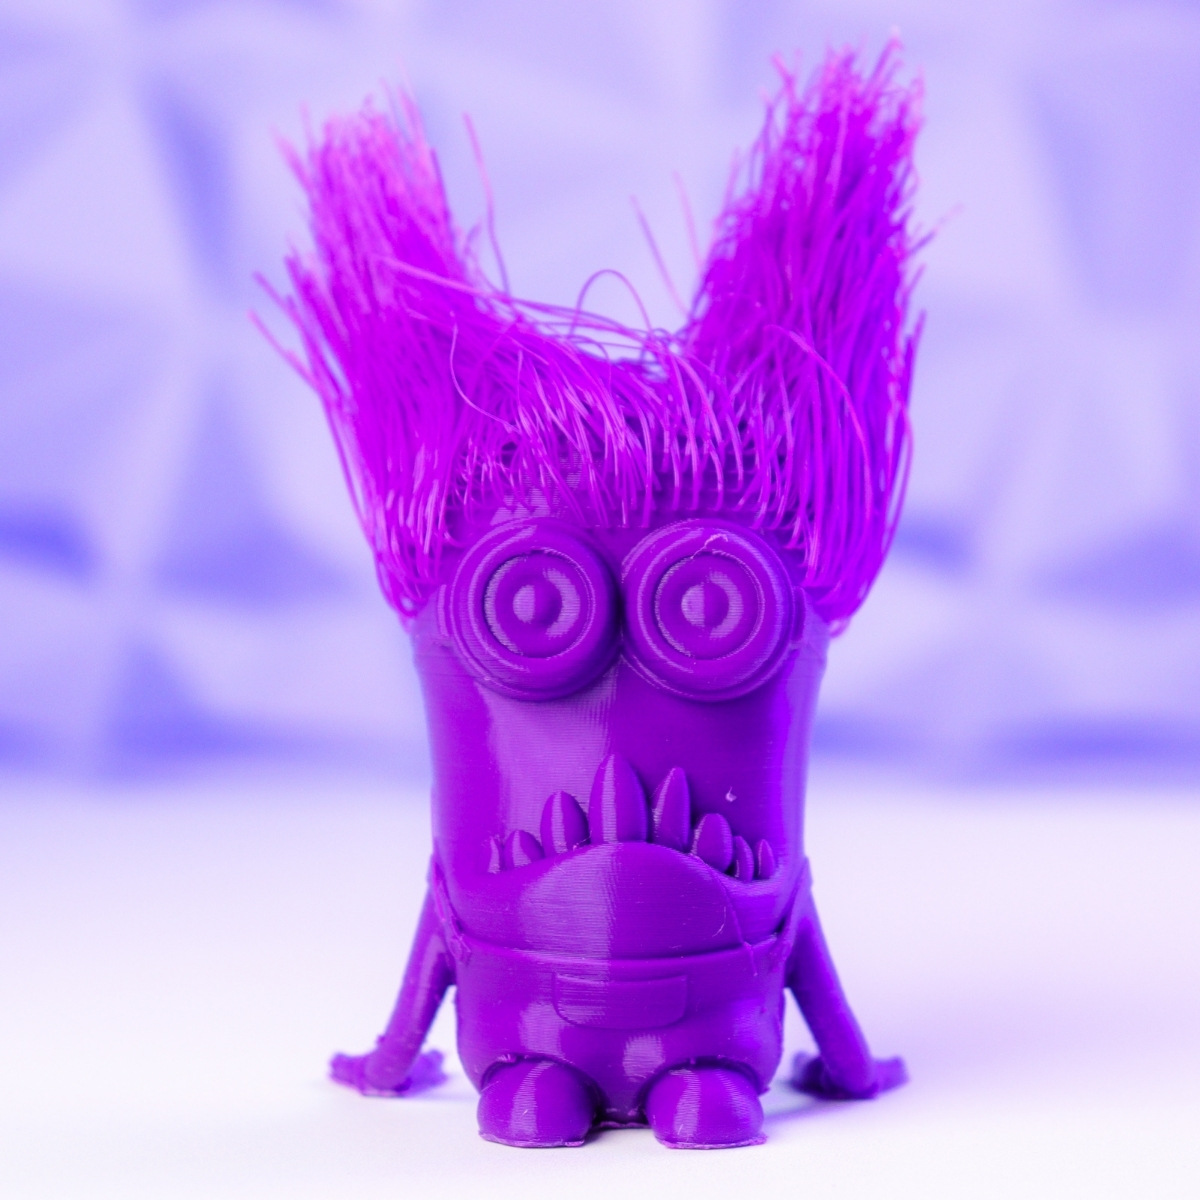
? An angry employee moment gone wrong
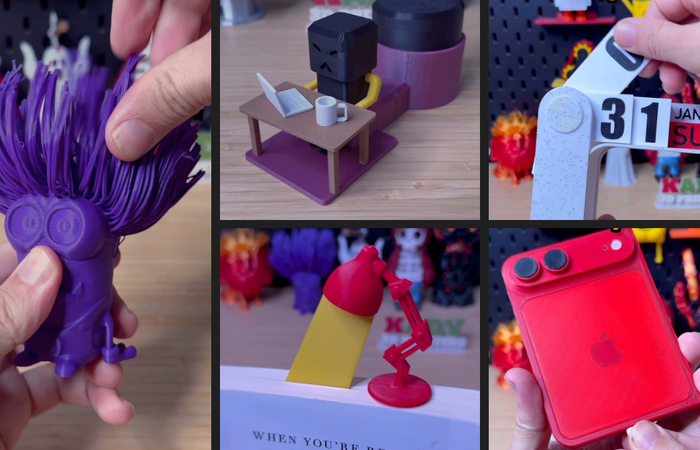
? Some evil minions joining the chaos
3D printing is fun… but sometimes it gets weird ?
? Which one is your favorite?
Whether you're a beginner looking for easy prints or an experienced maker seeking challenging projects, this collection offers something for everyone. All STL files are ready to download and print, with detailed information about each model to help you achieve the best results.
Featured 3D Models in This Collection
Here are the 5 carefully curated STL files in this collection, each tested and verified for quality:
1. Evil Minions With Hair
This is an Evil Minions With Hair.
It is a Print-in-place design no assembly is required. You can style their hair any way you like.
This model contains 2 variations of Evil Minions (one eye and 2 eyes). each variation has 3 sizes 4 cm (keychain) 8 cm and 12 cm.
Please feel free to share images of your prints on this page, I would love to see 'em.
Thank you.
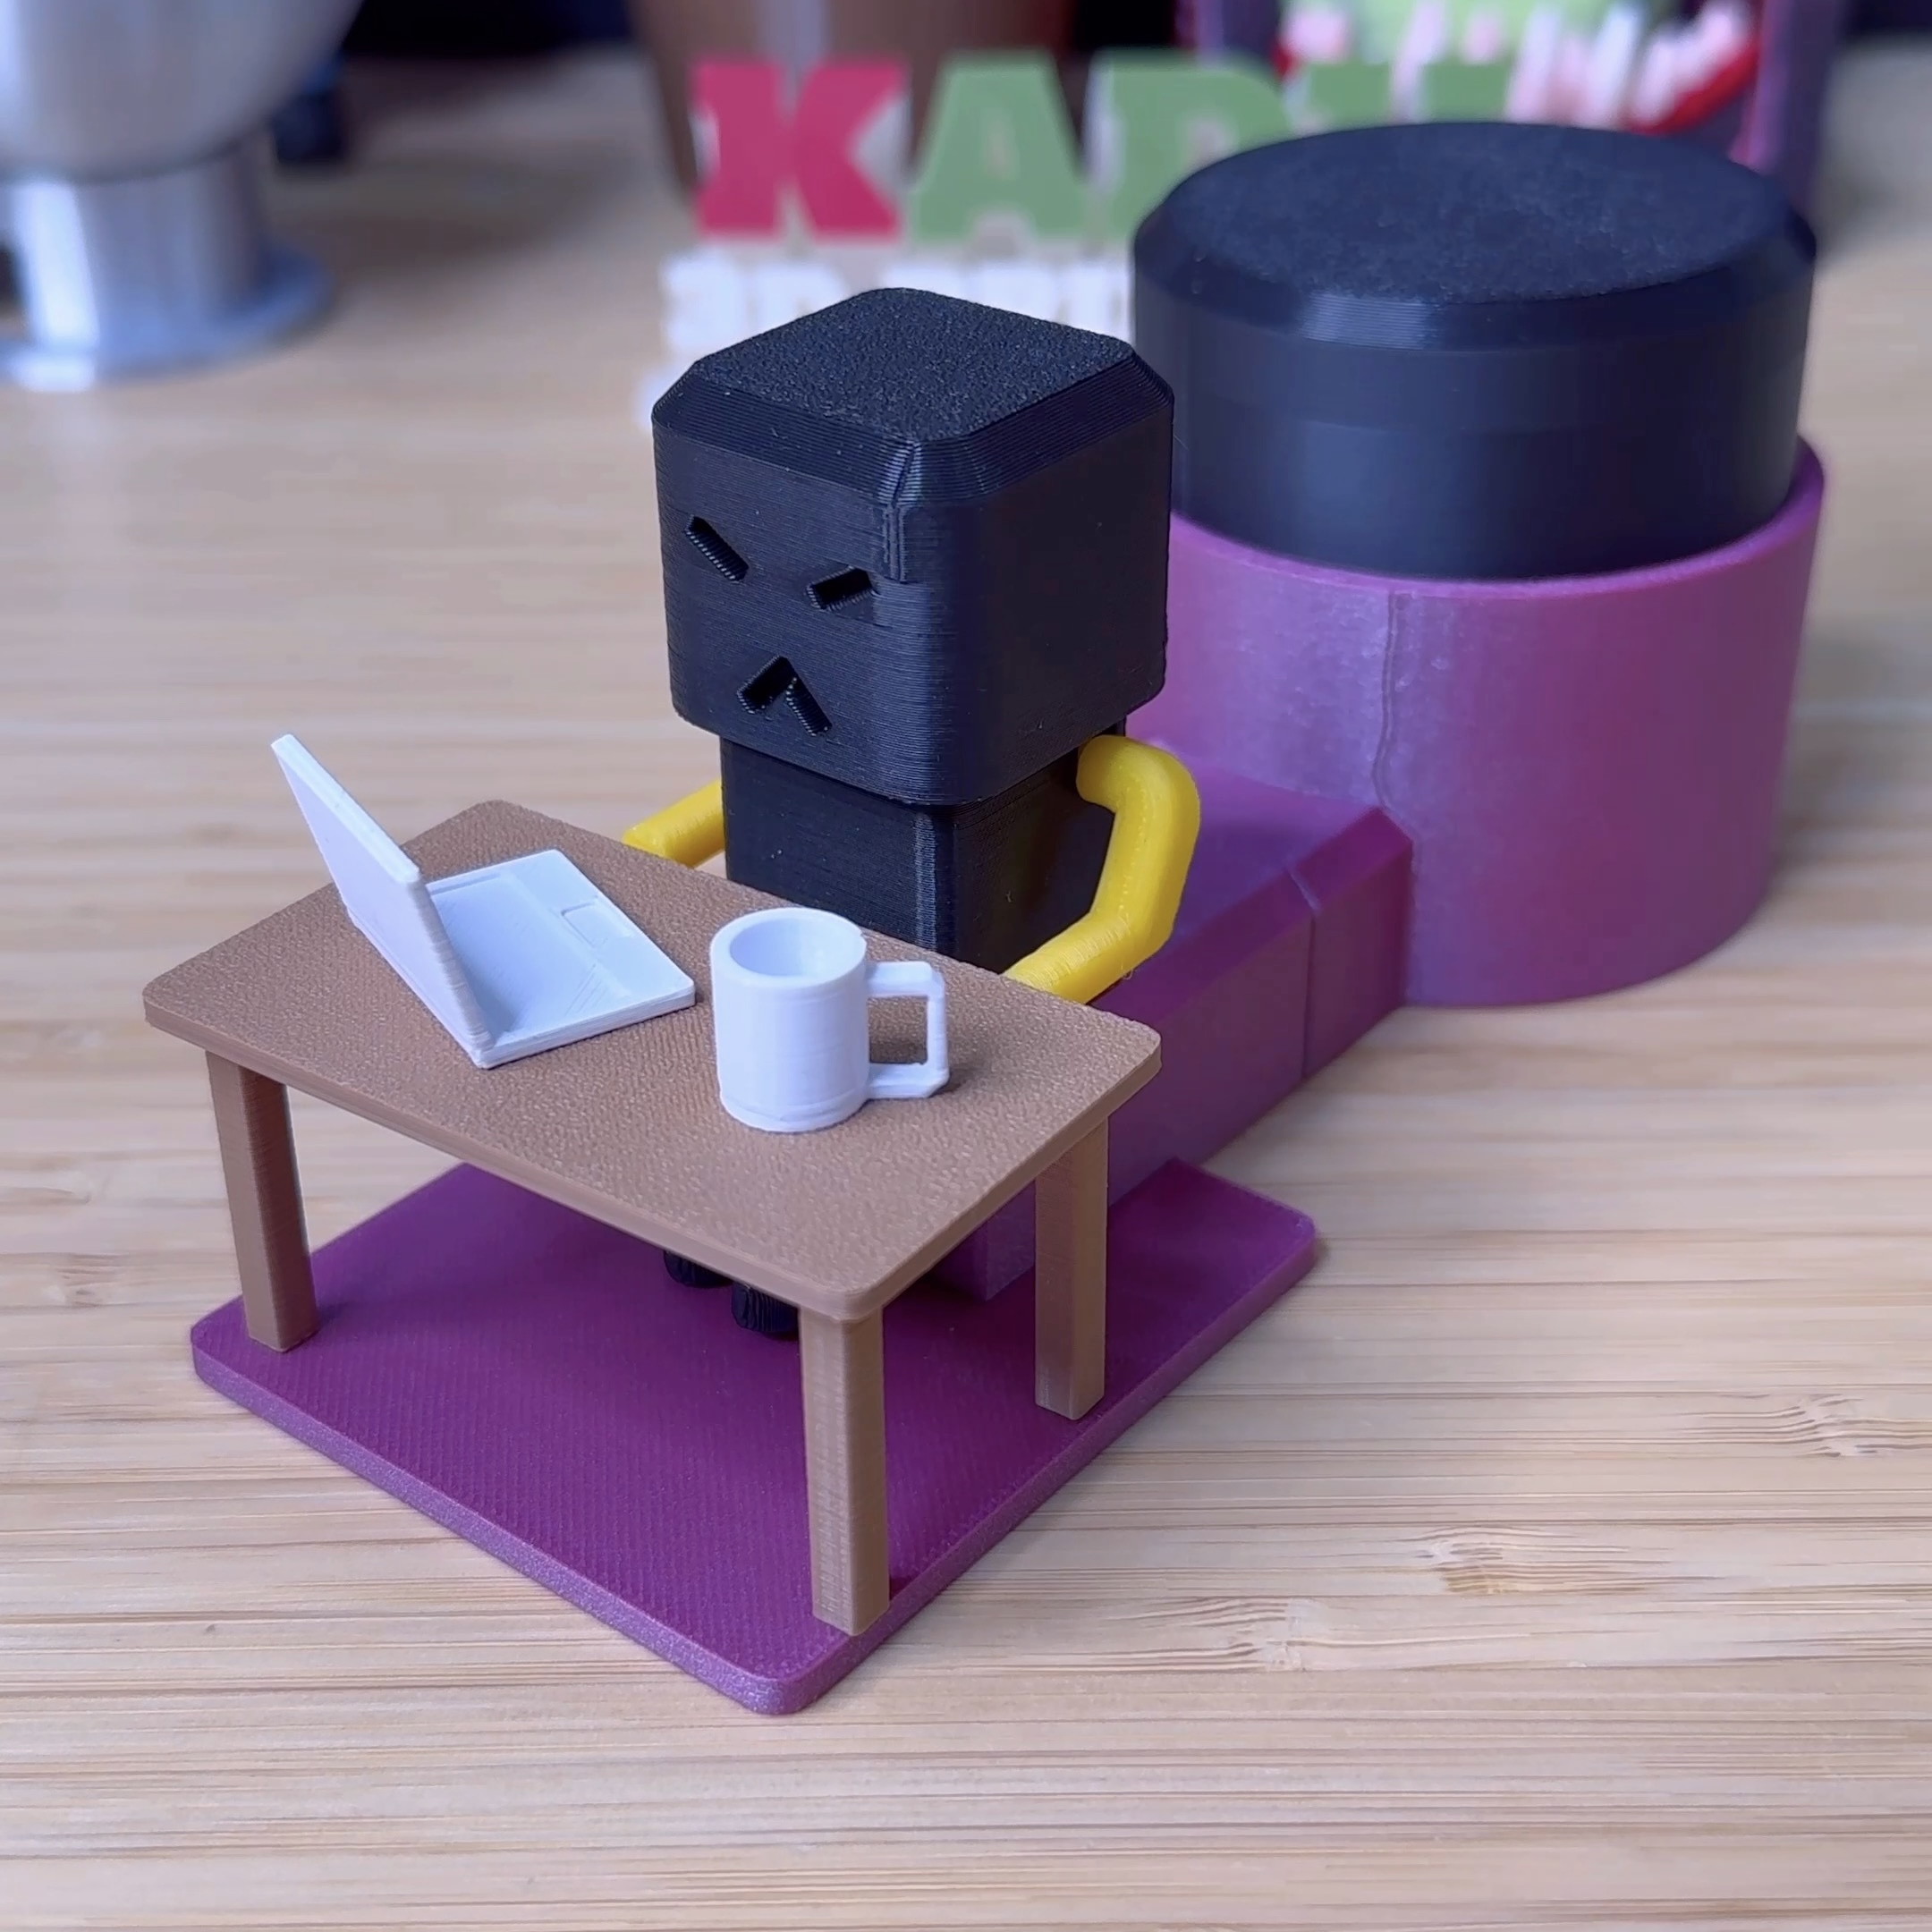
3. 3D Printed Desk Flip Calendar
Desktop Flip Calendar
Printable on A1 mini
The casing can be printed in vibrant colors for striking visual appeal
The calendar cards require multicolor printing, though manual color changes are also feasible, requiring few plate changes
Weekday cards: Saturday and Sunday cards can utilize cheerful base colors such as red, yellow, and orange
Happy printing For more visual inspiration, check out my Xiaohongshu profile: Lu Chuan rochain
4. 3D Printed iPhone Fold — Ultra Realistic Early Design
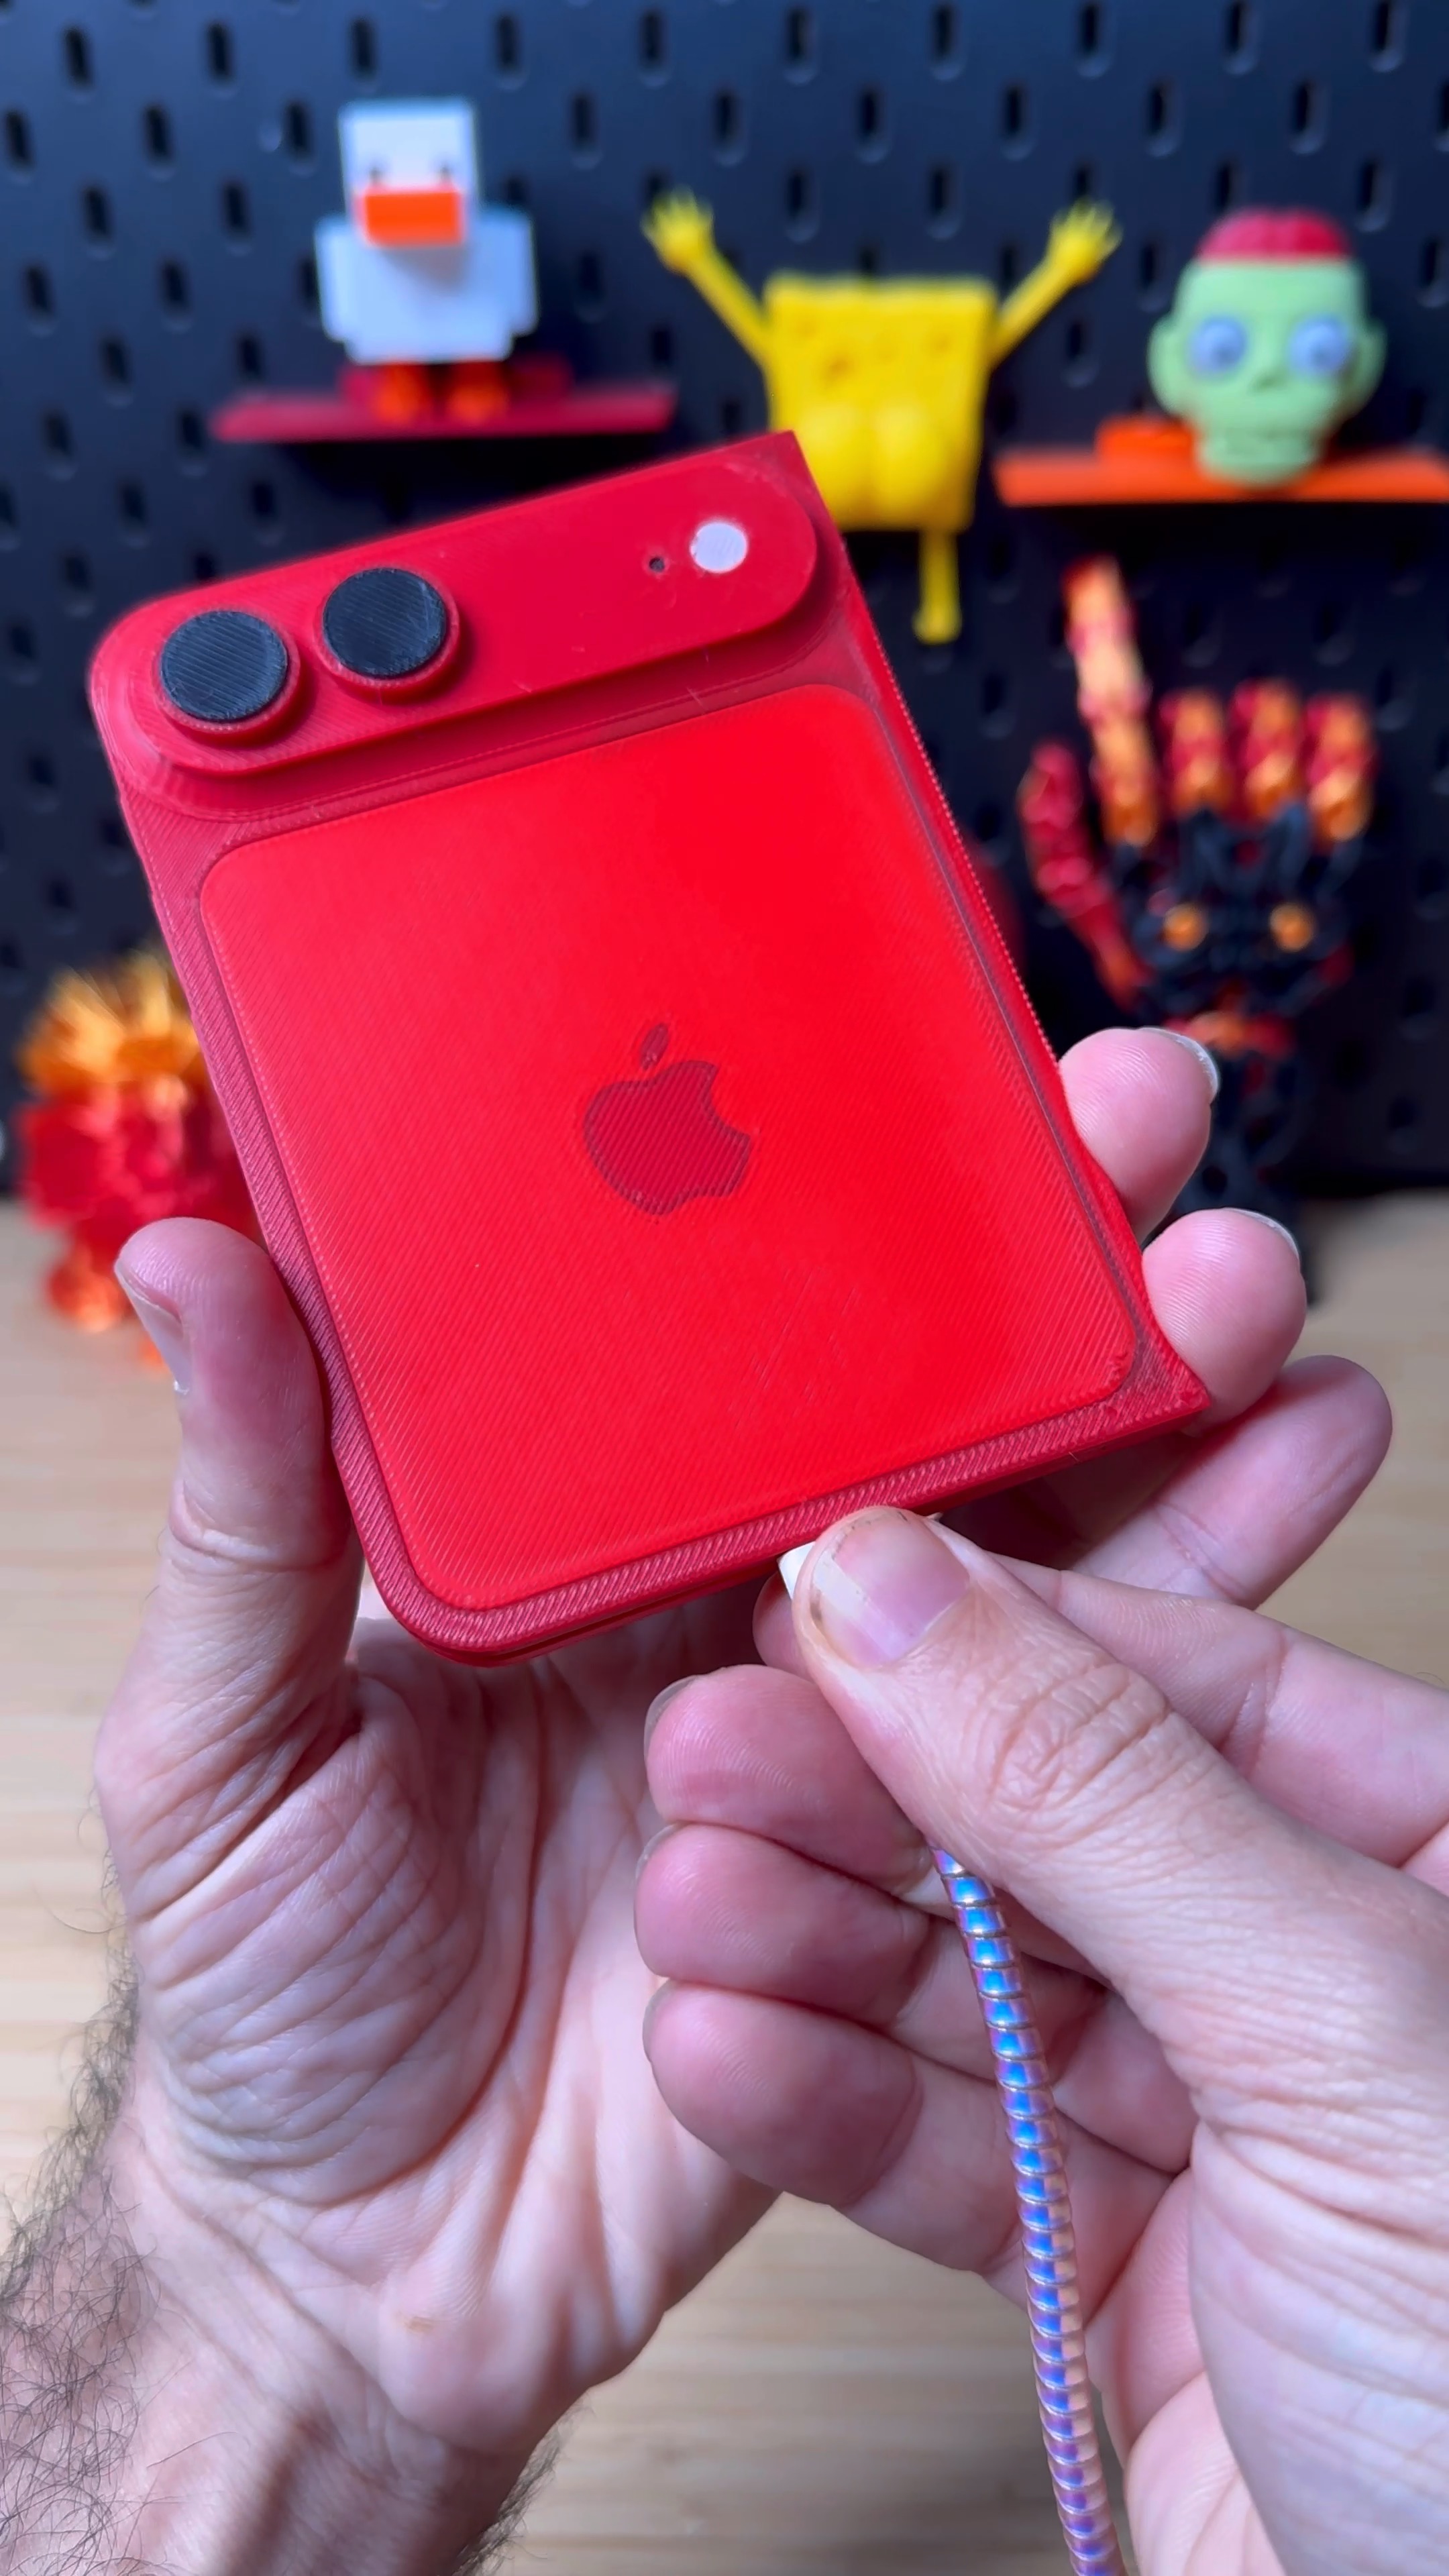
Hi! iPhone Fold/Ultra hasn't been unveiled yet; however, this model has been designed according to latest leaks and rumors and will be updated throughout the time. Experience the all new form factor of the iPhone of the future!
Here are a few thing we know so far:
Total of 4 Cameras
A Crease-free 7.6" Outer and 5.5" Inner Display
9.5mm and 4.6mm Thickness
Power Button TouchID
Expected $2399 Price Tag
Feel free to comment and share your own ideas and suggestions.
5. 3D Printed Lamp Bookmark
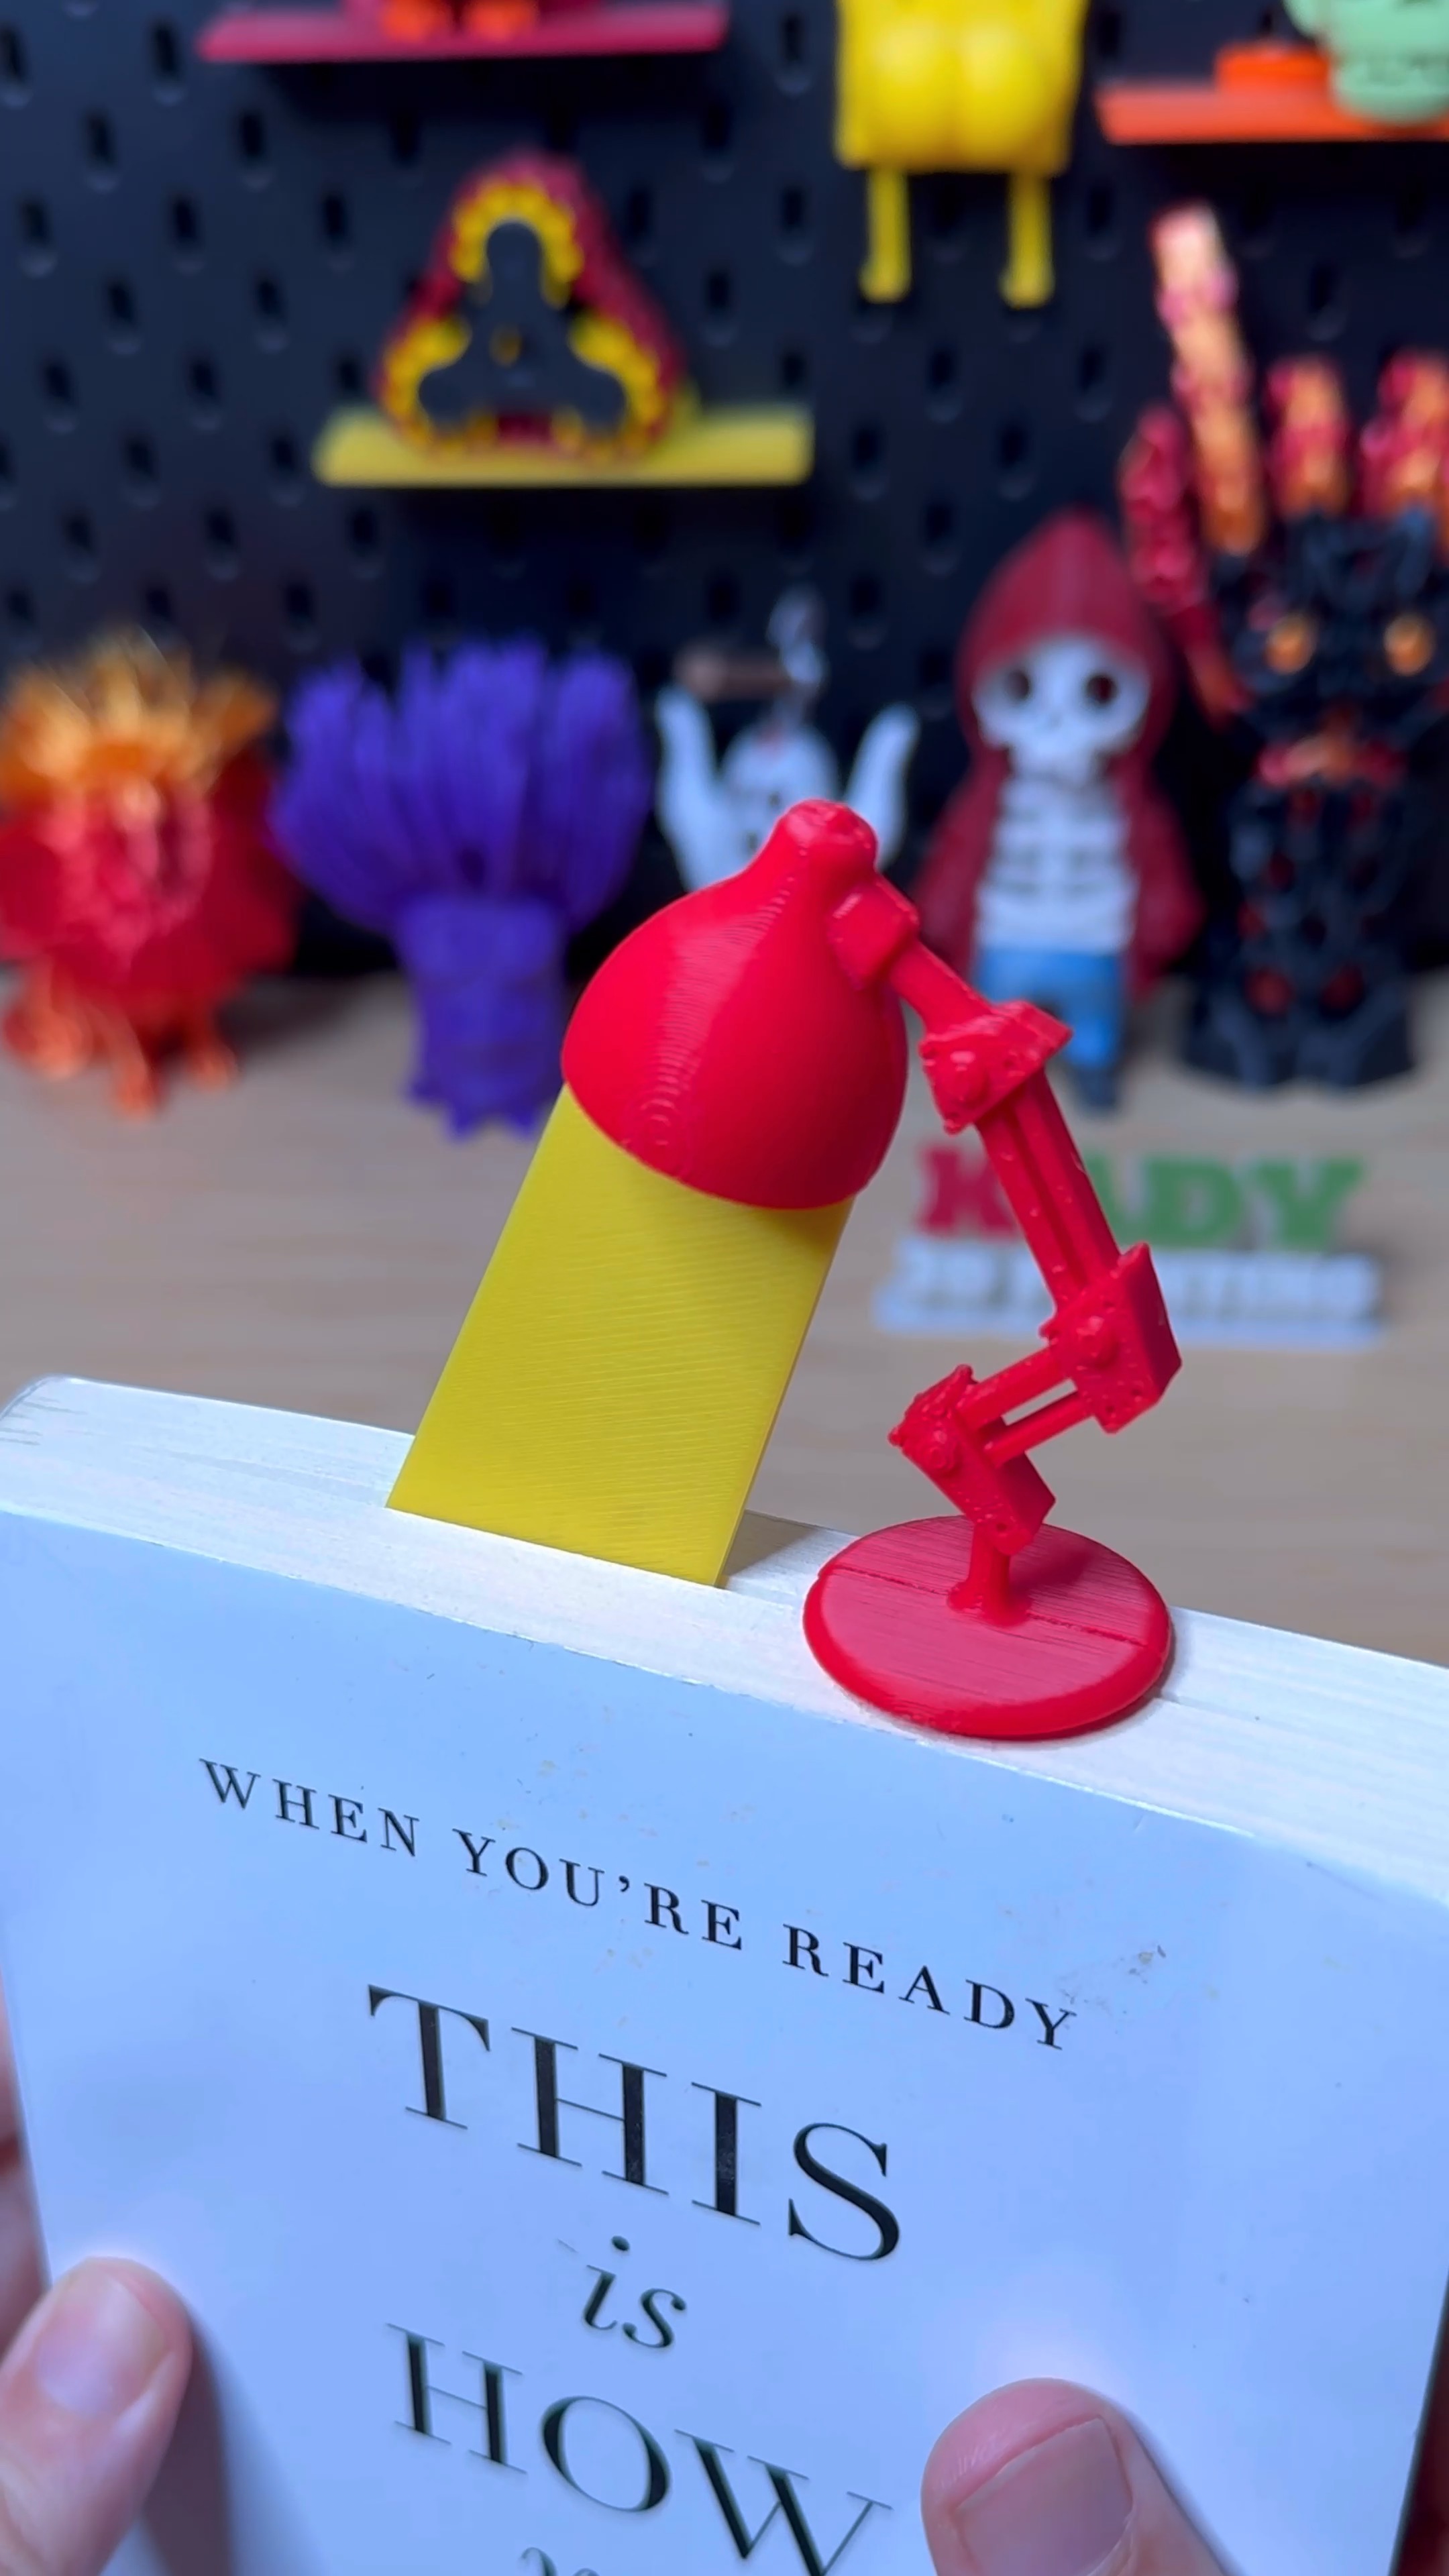
Materials Needed:
3D-printed lamp parts (2 parts per lamp)
Strong adhesive (preferably suitable for plastic)
Small brush or glue applicator (optional)
sandpaper (optional)
Assembly Steps:
Preparation:
Ensure all 3D-printed parts are clean and dry.
optional use fine sandpaper to smooth the surfaces where the parts will be glued for better adhesion.
Apply Glue:
Apply a thin layer of glue to the surfaces where the lamp parts will connect. These are likely the areas where the lamp head attaches to the arm.
Join the Parts:
Carefully align the lamp head with the arm as shown in the image.
Press the parts together firmly, ensuring they are properly aligned.
Drying Time:
Allow the glued parts to dry according to the adhesive manufacturer’s instructions, ensuring they are held in place if needed.
Once dry, your 3D-printed lamp should be securely assembled! This one is now ready for use :)
Ready to Start 3D Printing?
These 5 STL files represent some of the best 3D printable models available today. Each file has been selected for its quality, uniqueness, and printability. Remember to check your printer settings and use the appropriate materials for the best results.
Pro tip: Always preview your STL files in your slicer software before printing to ensure optimal orientation and support placement for the best quality prints.