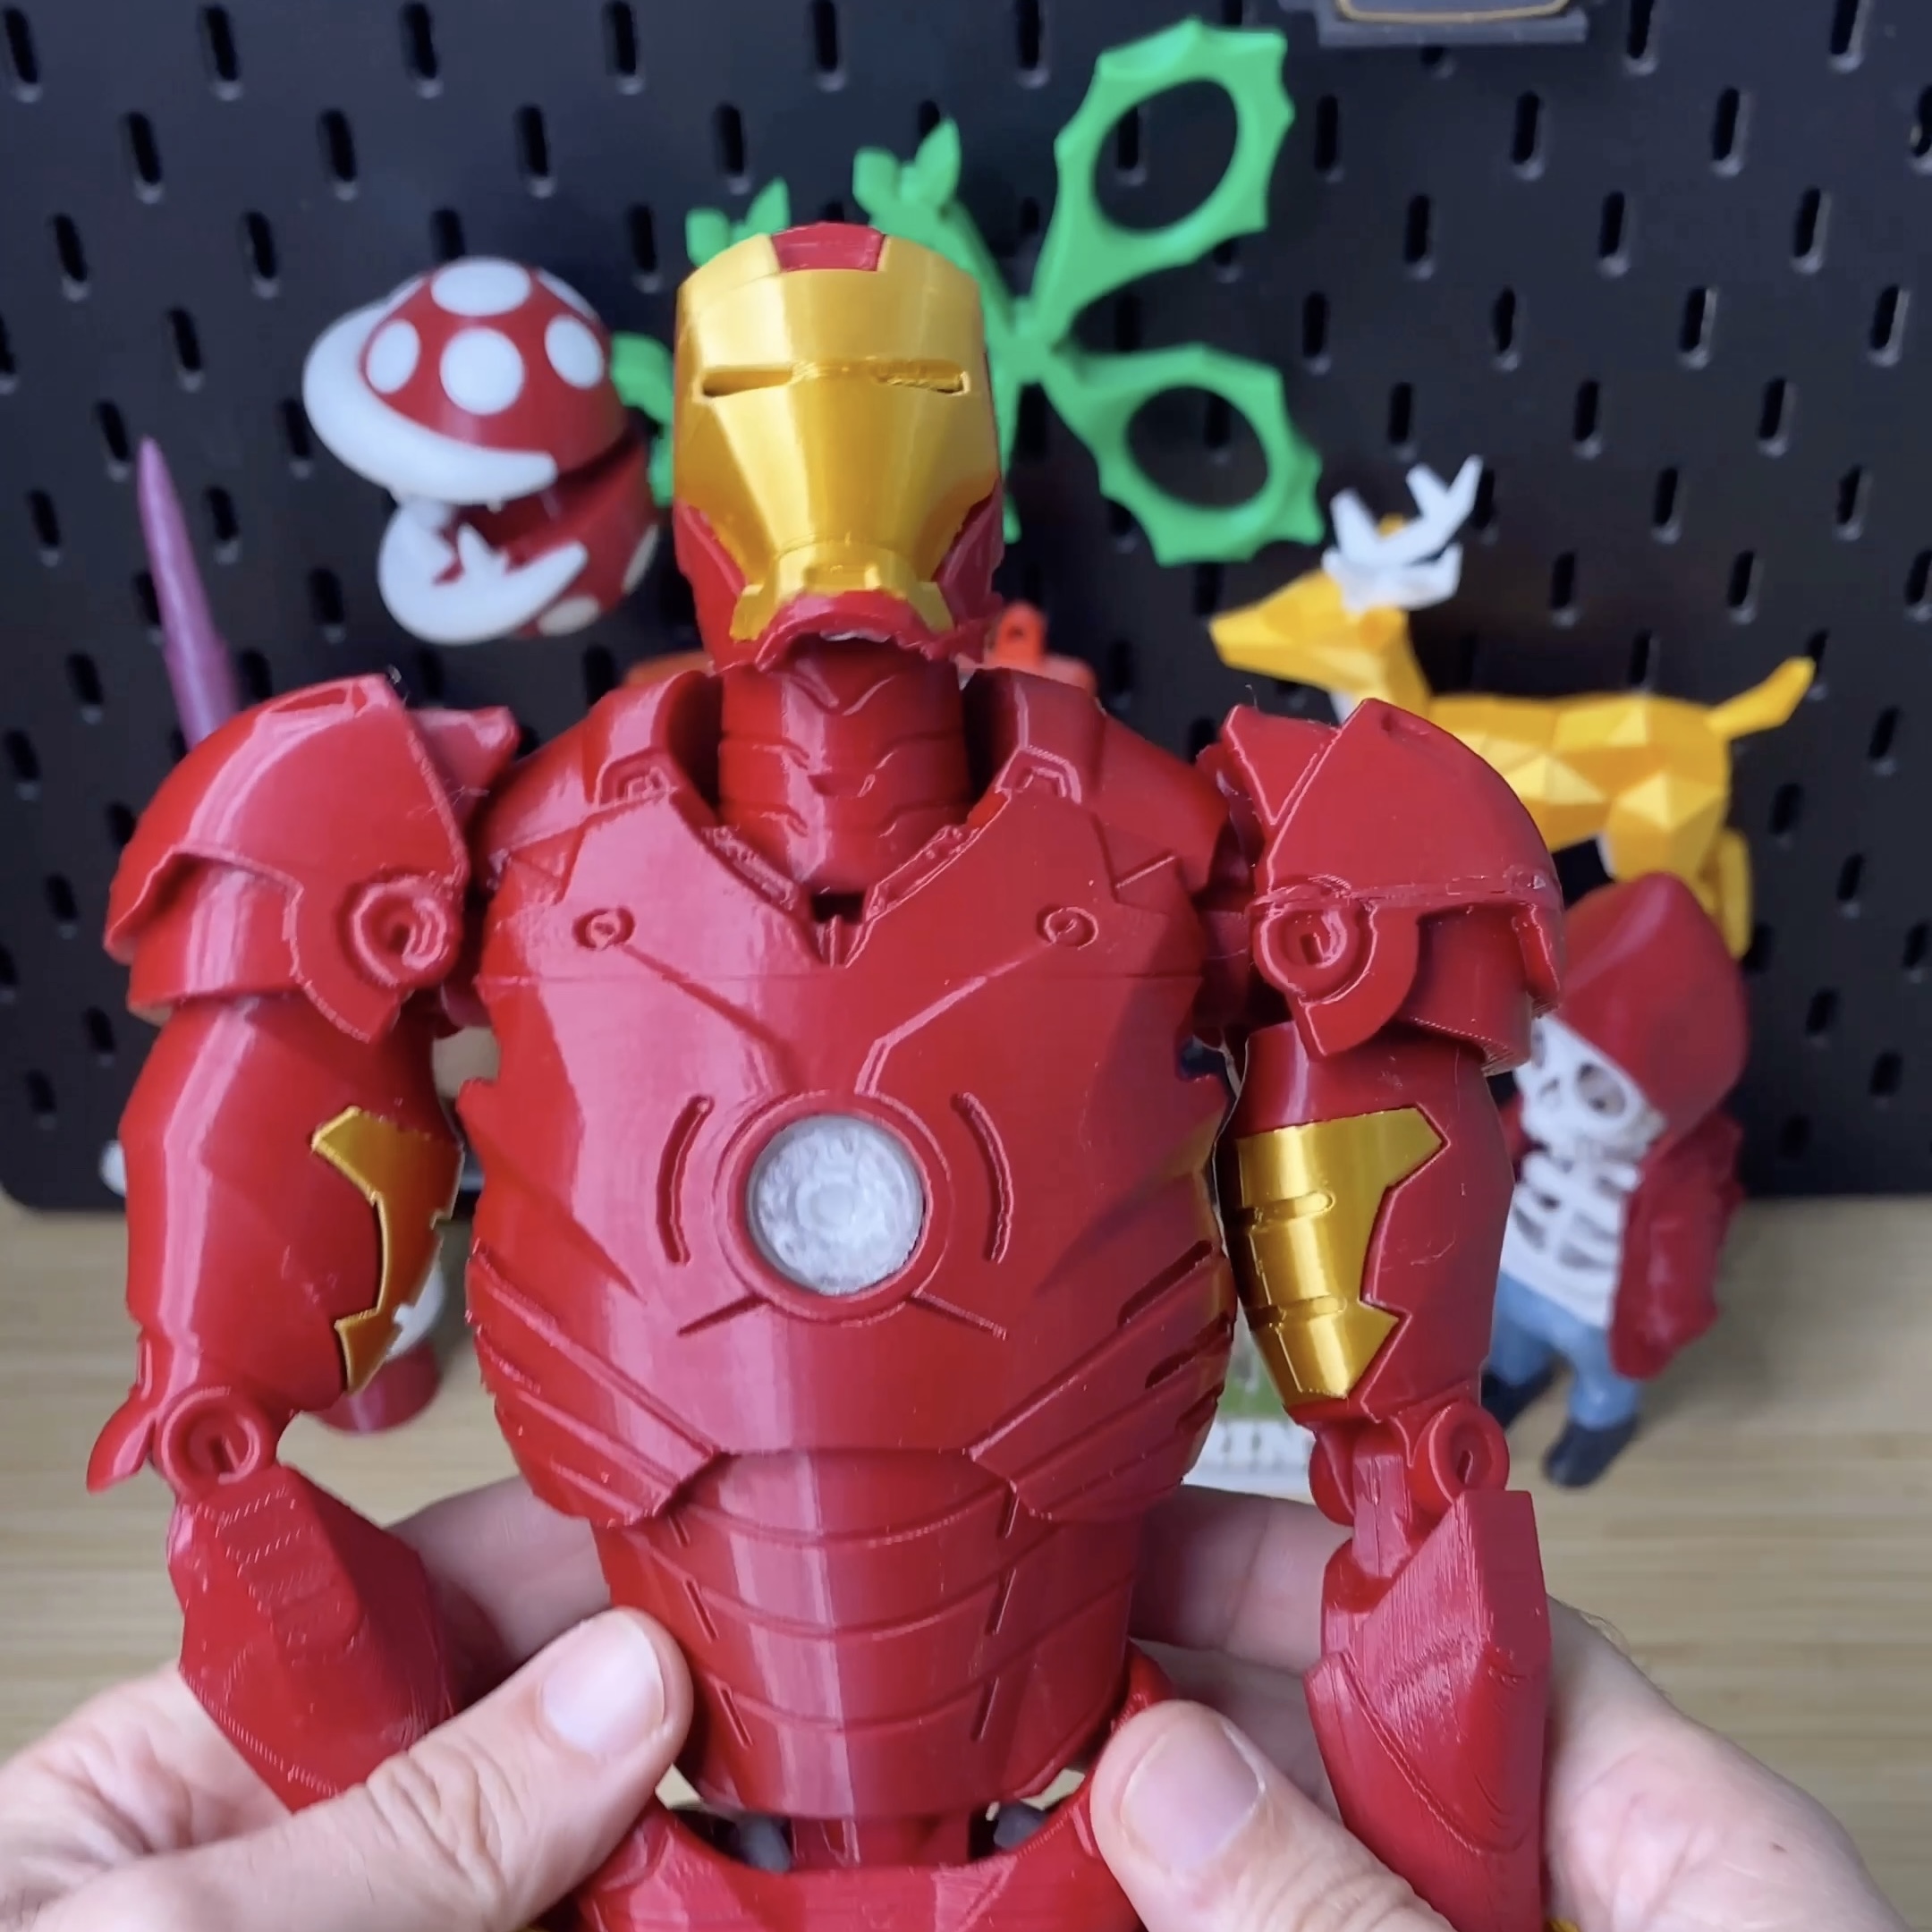
Iron Man by OpenFigure3D
Printed On Ender 3 V3 SE Using Filament Filameline PLA
Printed without Supports, Printed without Rafts, Infill 20 %
TAKE YOUR TIME. Save this, print this, come to it later. Also, SEE ATTACHED ASSEMBLY MANUAL PDF.
1. What's inside?
You'll see body parts, files are named clearly. Arms and legs are only for one side, mirror them in your slicer to make the other side.
Some parts are included prepared for MMU printing, you can choose to do that, or print the simple version.
2. Printing Recommendations
2.1 Scale. The figure stands at 18cm (7 inches) tall. You can scale up as you want, but do not scale down unless you use resin.
2.2 General tips:
Most parts need supports.
Print orientation on bed is important, especially for strength of articulations, which tend to break along layer lines, so try to print perpendicular to them. For example, print sockets and ball joints horizontally so the layers run along it.
Ideally print without brims, because they fuse the supports to the part in the first layer, making supports removal difficult. Excellent bed adhesion is required to print without brims.
Slow speeds are recommended, like 20mm/s.
Certain strength is needed, we recommend 3 perimeters and at least 15% infill.
Print all at once or each part individually, up to you and how reliable your settings are.
2.3 Orientation on print bed suggestions (supports on all, except if noted).
Calf & Thigh straight up like a tower, upside down.
Thigh socket horizontal. Mirror for left/right.
Hip ball joints printed best in our test when split in halves, flat side on bed.
Abdomen and Chest straight up.
Chest sockets horizontal. You'll need 3, one for each shoulder and one for the abdomen. They are identical so no need to mirror.
3. Post-print recommendations
3.1 Cleanup. Remove supports, brims, & any imperfections that may cause interference between moving parts.
3.2 Tolerances. After thorough testing, we designed parts with 0 tolerance. This is because of the wild variations in printers, settings, filaments, etc. Adjust manually with a knife or sanding until fit is perfect. Avoid loose articulations, which make the figure like a rag doll. If this happens to you, use a piece of paper between the parts to fill the gap and make it tight, or use sticky putty like the mint-colored Faber-Castell used to put signs up on walls temporarily.
3.3 Fractures. If a joint breaks, reprint that part or use glue. We designed sockets as separate parts for this reason.
3.4 Assembly. Easy & straight-forward, see attached images & PDF manual if you have doubts. Be kind but firm. Insert small parts to larger ones first, before doing larger ones to each other.
Link not working? Let us know →