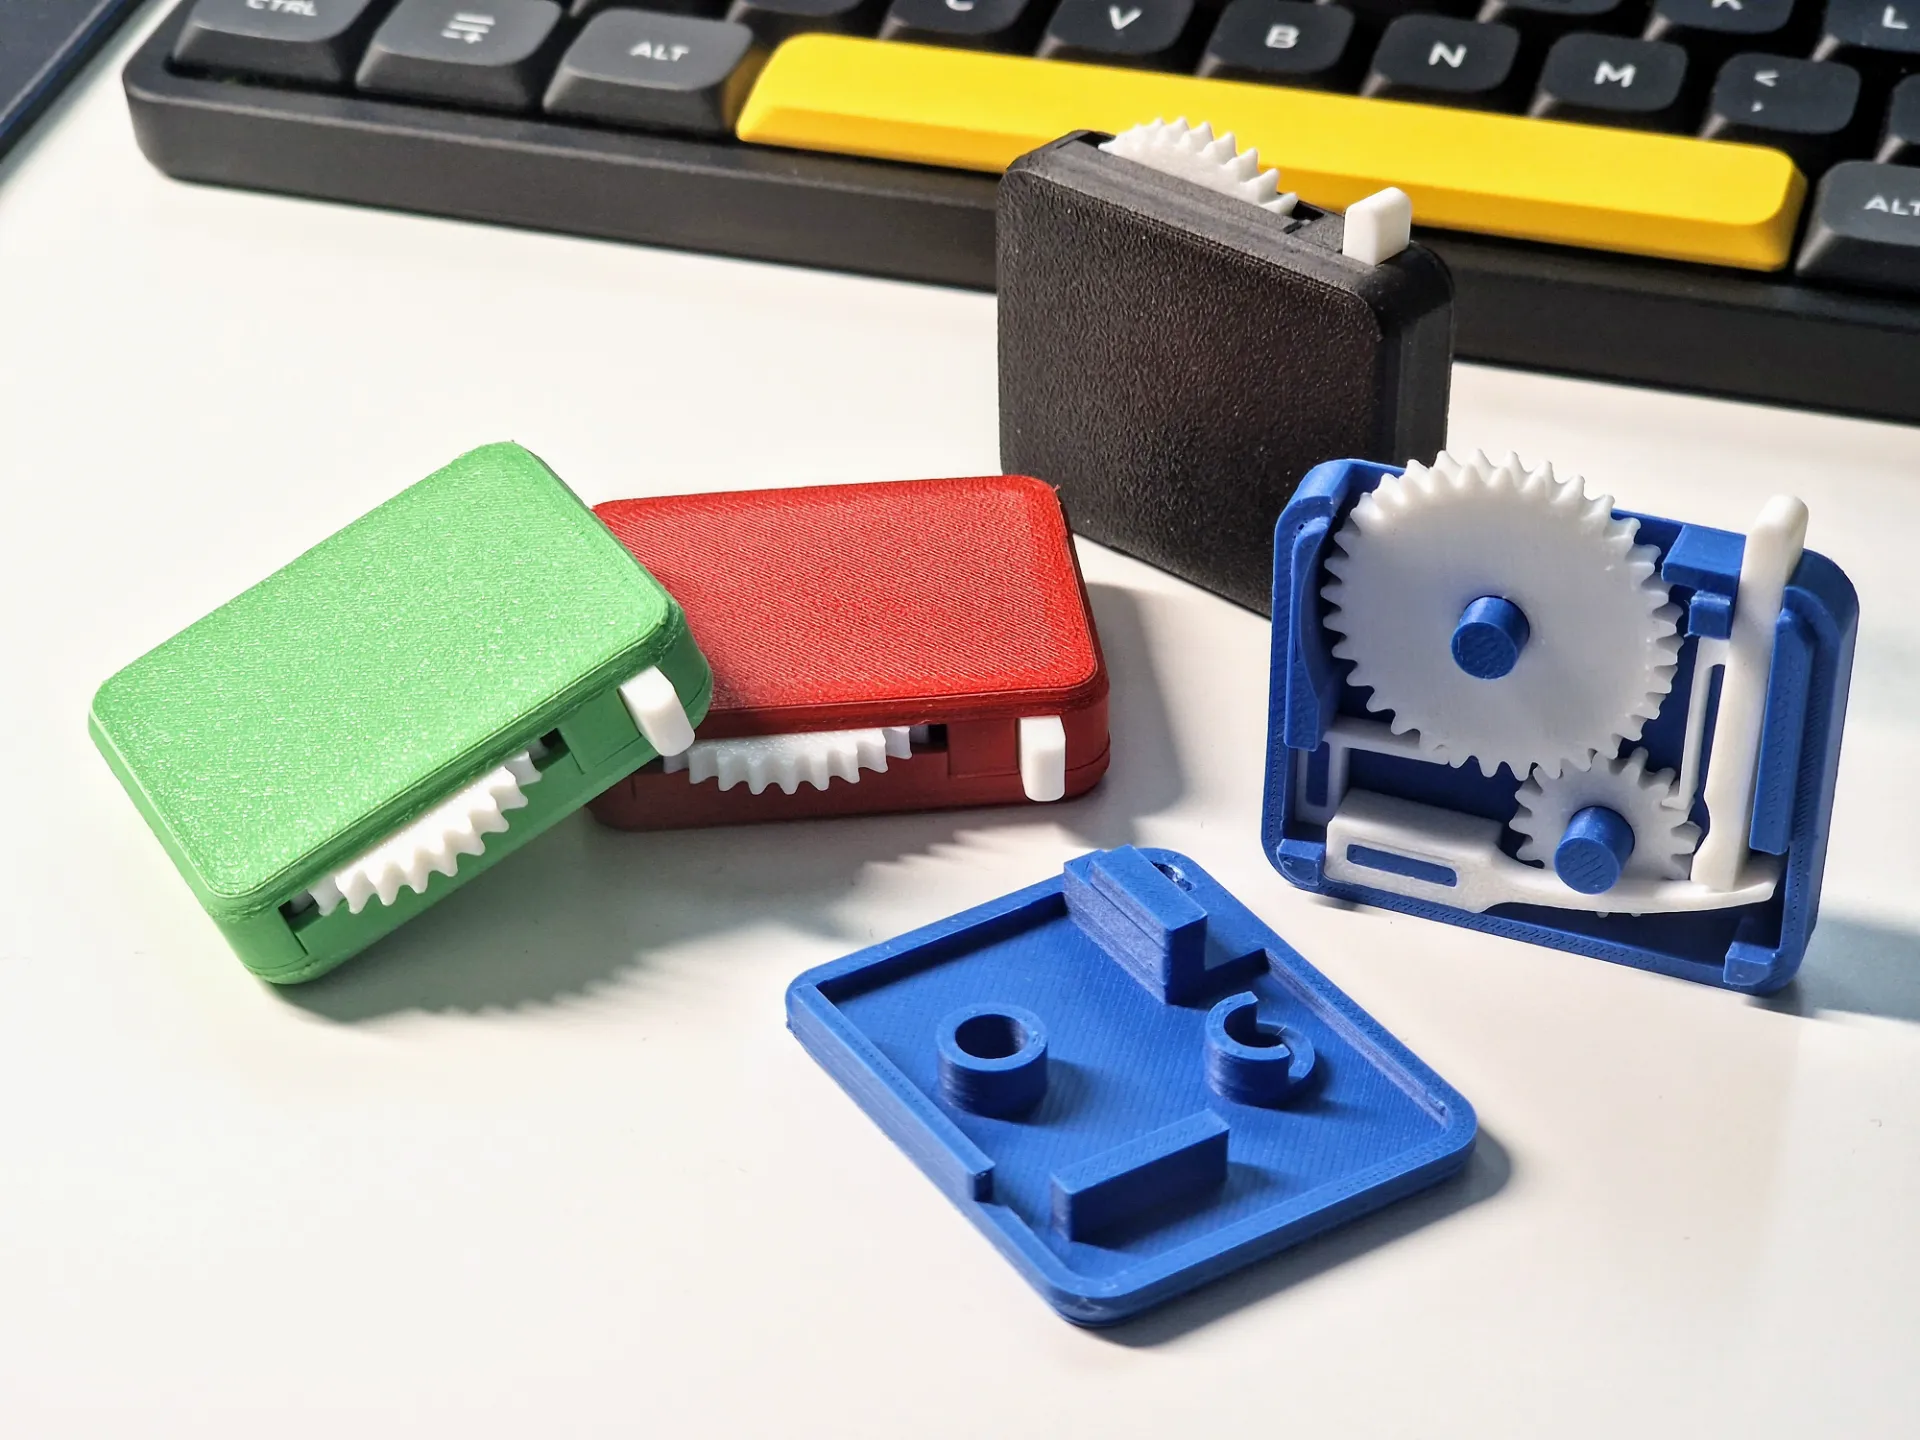
3D Printed Fidget Counter Clicky and Snappy Toy Assembly Kit by Marekadamczyk
Printed On Bambu Lab X1-Carbon Using Filament eSun PLA+
Printed without Supports, Printed without Rafts, Infill 20 %
So, I wanted to create my own Fidget Toy… not just another dummy button, but a proper working mechanism. I went through multiple prototypes and designs to end up with the Fidget Counter. It is really clicky and snappy and addictive… You can use the pusher/button or just play with the gear - it goes in one direction only. Assembly is easy, just follow the instruction. I hope you will like it!
Assembly Guide
Install the parts in order described:
First put Gear Tension Spring [1, violet] - Make sure it is properly aligned with the post. It is press fit so with just a little push it will slide into its place.
Then goes Big Gear [2, orange] - Be careful with the spring you placed; you will need to pry it a bit to place the gear. It should fit the axis just a little loose, so you can spin it freely but just in one direction. It is supposed to click.
Next Small Gear [3, green] - Same as big one it will fit axis with some play and both gears should now work together but again just in one direction.
Then fit Pusher Tension Spring [4, blue] - It should slide in nicely with not much force required.
Lastly install Pusher Button [5, yellow] - Fit it into place so its bottom will seat on the tension spring and the arm will fit the small gear. Now you can test the whole mechanism even without the top cover.
Finally, if everything works, you can close the cover. Line it up (watch out for the pusher since it may be pushed by the tension spring to side) and with a little force it will snap.